|
The HIPAA Claim Payment Master has the capability to create 835 EDI files from the records stored in the attached database. In general, any record that has been imported by the HIPAA Claim Payment Master can be exported as EDI file.
Records that have been added through other processes outside of the HIPAA Claim Payment Master have to be vetted for completeness. One way to do this is to create the records and let the HIPAA Claim Payment Tool generate the EDI file. Now you can test the EDI file for compliance with a free tool such as Softshare's EDI Notepad or full-fledged HIPAA compliance tools. If you use the EDI Exchange module, you can check outgoing EDI files on the fly and even withhold individual records that generate warning messages.
Follow the instructions below to create EDI files.
| 1. | Select Data Export  Create 835 EDI Files in the main menu. Create 835 EDI Files in the main menu.
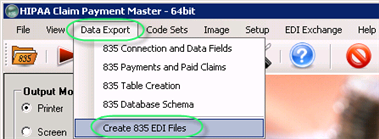
The "Create 835 EDI Files" menu |
| 2. | The "Create 835 Transaction Sets" window will be displayed.
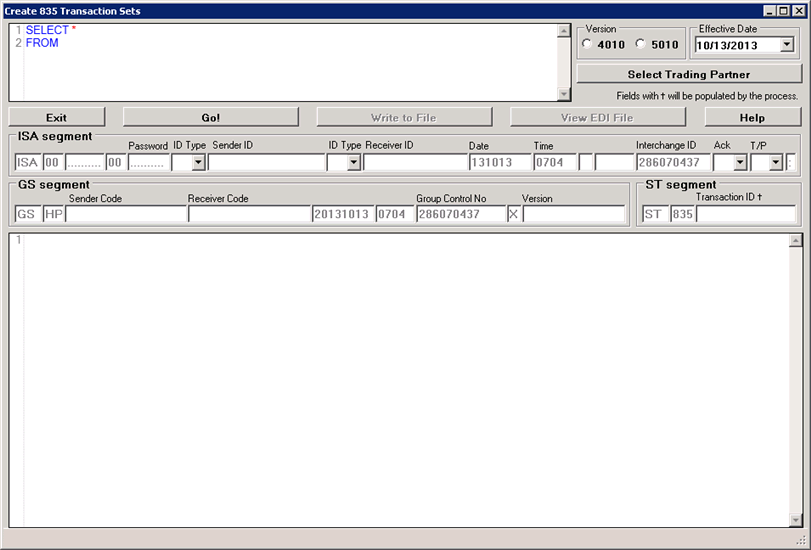
The "Create 835 Transaction Sets" window |
| 3. | Before starting, enter values into the empty fields.
Tip: Once you have filled the fields out, the program will store your values. Next time you access the window, the program will display your last configuration. |
| 4. | On top, see the query field. Here you can enter any query. Or use the query builder discussed before and carry the query over into this screen.
Tip: Please, be reasonable, creating a file with many thousand records will take a few minutes. |
| 5. | The next block is concerned the ISA Segment.
Note: Some values are filled in and shaded out, they are created by the program. Other fields are blank and you have to fill them out. |
| • | Sender ID Type, Sender ID — Your identifier. You can select "ZZ" and your name (up to 15 letters) or your tax ID, etc. Fill in the sender's ID qualifier and ID. |
| • | Receiver ID Type, Receiver ID — An identifier that you can get from your trading partner. |
| 6. | In the "GS Segment" add the following: |
| • | Sender Code — Repeat your sender ID from ISA_06. |
| • | Receiver Code — Your trading partner should tell you the Receiver Code. If you are in doubt, repeat "ISA_08." |
| 7. | Click the "Go!" button. |
| 8. | If some information is still missing, you will see an error message.
The information you put in the screen is now saved for future transactions and will come up the next time you bring up this screen. |
| 9. | The EDI transaction is now displayed in the text box below. |
| 10. | The transaction exists only in memory. To save it to the disk, click on the "Write to File" button.
A dialog box will pop up and ask you for a file name.
Provide a filename and save the EDI file. |
| 11. | Now you can click on "View EDI File" to see it in the EDI editor. Read more in Using the EDI Editor. |
|