Once you have configured the database connection (Setting up Database Connection), follow the instructions below.
| 1. | Select EDI Exchange 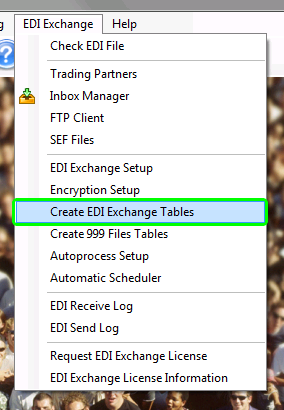 The menu item to create the necessary tables. |
| 2. | The "Create Tables for EDI_Exchange" screen will appear. Table creation and/or modification for your database is handled here.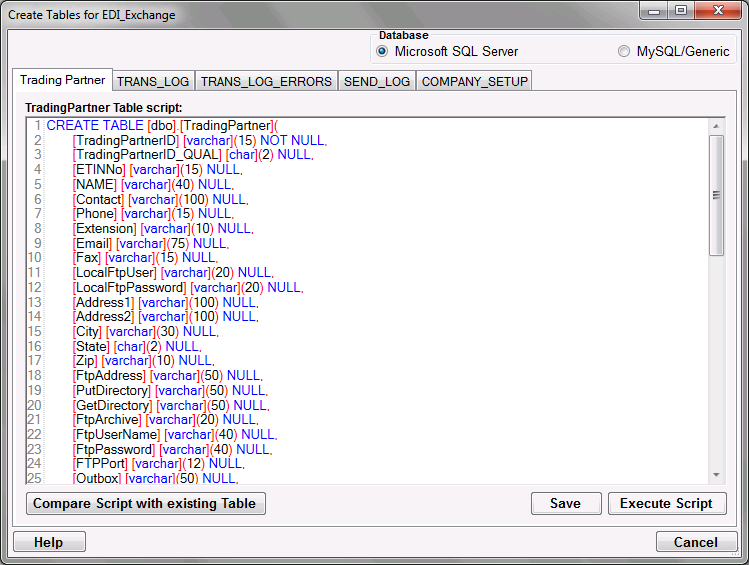 The screen to create the tables |
| 3. | Select the database type you use for your host HIPAA application. |
| • | Database |
| • | Microsoft SQL Server (SQL Server 2008 and above) |
| • | MySQL |
Note: In case your database is not listed, modify the scripts or ask your database administrator to make the necessary modifications.
| 4. | The following tables are part of EDI Exchange: |
| • | TradingPartner — SQL statements to create the "TradingPartner" table in your database. This table contains information about trading partners. |
| • | Trans_Log — SQL statements to create the "TRANS_LOG" table in your database. This table contains incoming file information, keeps track of all EDI files that you receive and the compliance check report. |
| • | Trans_Log_Errors — SQL statements to create the "TRANS_LOG_ERRORS" table in your database. This table collects the results of the compliance check and keeps track of all sent files. |
| • | Send_Log — SQL statements to create the "SEND_LOG" table in your database. The table contains information about EDI files created and sent to trading partners. |
| • | Company_Setup — SQL statements to create the "COMPANY_SETUP" table in your database. This table collects information about you, the sender of EDI information. |
| 5. | You can modify the scripts so that they run on your specific database. Once you have you modified the script, click "Save." |
Tip: Every database system has their own little syntax idiosyncrasies and the scripts might require tweaking. You can edit the table scripts in this screen and save your modified scripts. One example are 'date' and 'time' or 'money' data types that do not exist in SQL Server 2005. You can just rename those types to 'datetime' and save you script and it will run fine.
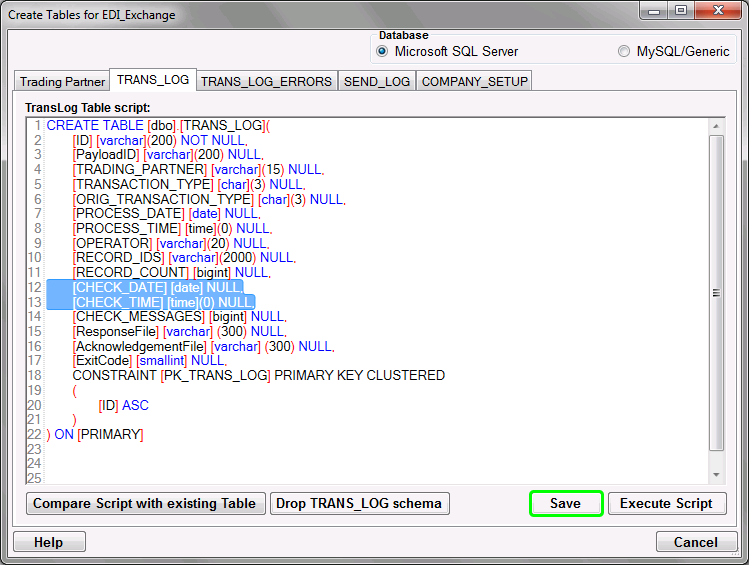
The "Save" button
| 6. | For each script on every tab, click "Execute Script" to create the corresponding table in the database.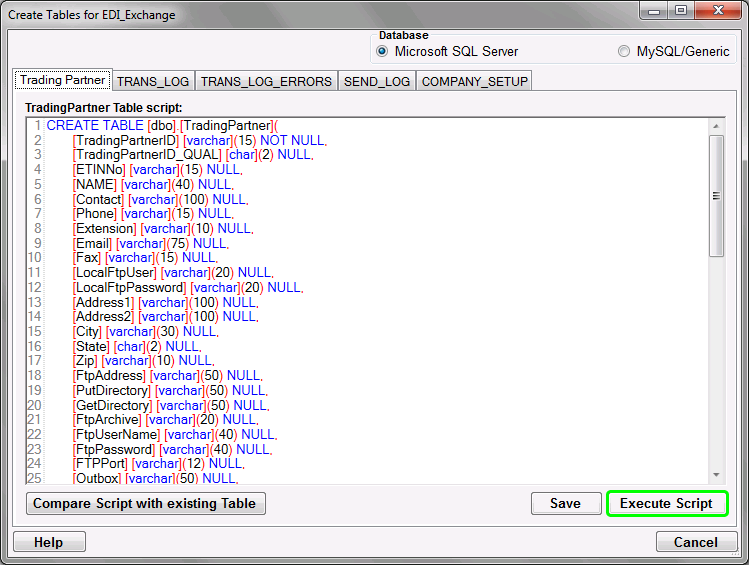 The "Execute Script" button |
Notice: Creating tables means clicking the "Execute Script" button in all five tabs of the "Create Tables for EDI_Exchange" window. Then close this window.
| 7. | Once the table has been created successfully, you will see the following notification: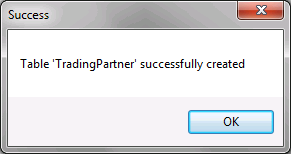 The Create Table script success message |
Warning: Double-execution of a script wipes out the previous table you have created. A prompt will warn you before deleting an existing table. To Add/Remove fields use the "Compare Script..." button. Remove the script files once you have created the tables so nobody can destroy the tables by accident.

The double-execution warning message.
Make sure there are no error messages and the table creation has been completed successfully.
Compare Script with existing Table
HIPAAsuite products go through continual development and improvements. Often these changes lead to new fields in the database. While it is easy to drop a table and regenerate it with the new fields, you will loose all the data in the table. To avoid this trouble there is the button "Compare Script with existing Table". I you click this, the table structure in your database will be compared with the script. There are two possible outcomes. Your table is up to date
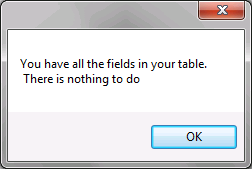
Table is up to date
or if your table is missing recently added fields, you will see a window pop up that shows an 'Alter Table' script with which you can add those fields to the table without interfering with existing data.
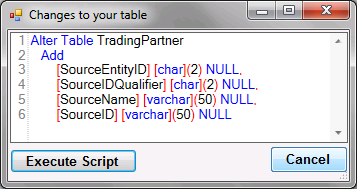
The 'Alter Table' script that shows as a result of missing fields
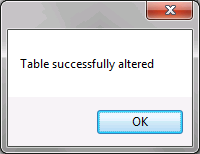
You can now click the "Execute Script" button and the field will be added and a message will confirm your changes
Alter Table statement successfully executed.
Once you have created the tables, you can start setting up the other application options. See the next step: Defining Auto-Processing Options.