Under the main menu item 'Database' is the first option "Connection and Data Fields"

The menu under 'Database'
When you click on it the following screen comes up
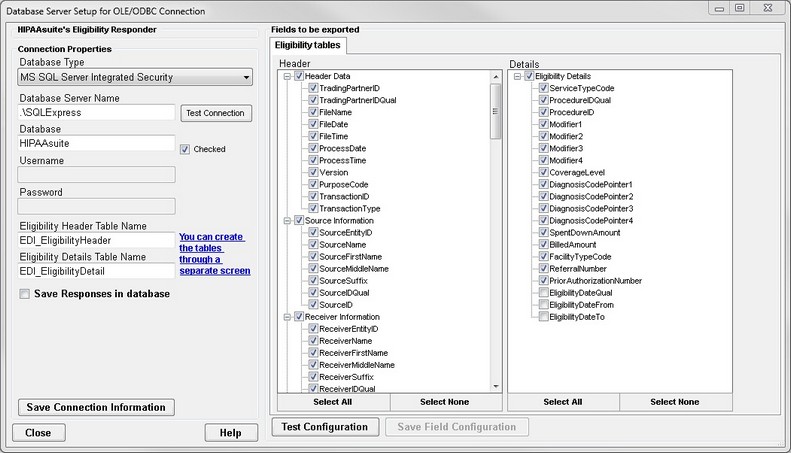
Database connection and data fields
On the left side of the screen you see the connection setup, here again in detail
Defining the connection parameters. Note that this image shows the check mark at "Save Responses in database"
| • | Database Type --- is either ODBC or Microsoft SQL Server either with Windows Authentication or with explicit credentials (If you need other types, please contact us for customizations) |
| • | Database Server Name or DSN --- In case of SQL server this is the IP address or the name of the database server, for ODBC this is the Data Source Name (DSN) that is defined through the ODBC setup in the Control Panel of Windows |
| • | Database --- This is the database under the above connection, usually not needed in ODBC setup. |
| • | Username --- A defined user that has privileges to the database, usually not needed in ODBC setup |
| • | Password --- Usually not needed in ODBC setup. |
| • | Eligibility Header Table Name --- The name that you give to your Eligibility header table. A default name is suggested but can be changed |
| • | Eligibility Detail Table Name --- The name of the table that contains the line information. A default name is suggested but can be changed |
| • | Eligibility Response table name -- This box shows up if you choose to save the response information. |
You can create the tables through a separate screen.
If you select to save the responses in the database, you will see 3 more text fields appear

Checking to save responses reveals 3 more fields
| • | Covered Members |
| • | Covered Benefits |
| • | Request Validation |
These three tables are used to store the manually created responses or they contain the member and benefit data for the creation of the automatic response. In addition to the 3 fields, you will also see another tab showing the fields of these three tables.
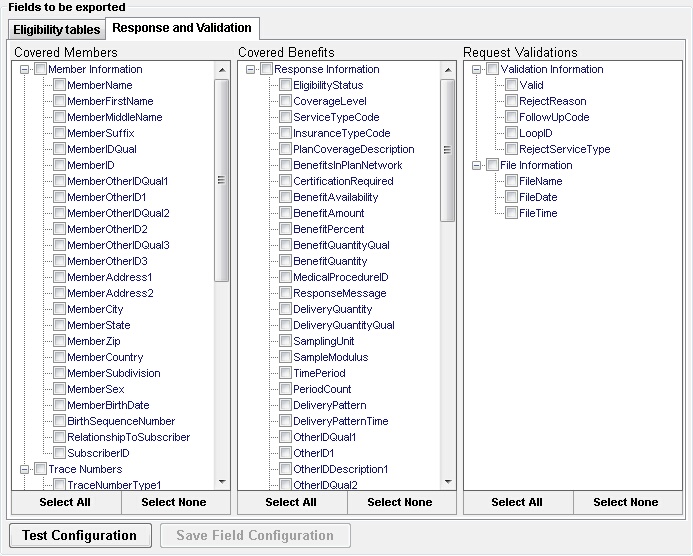
The tab with the fields of the response tables
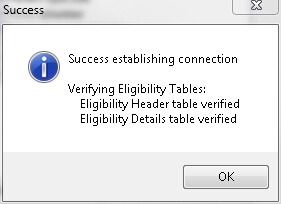
After filling in all the information, save the information and test the connection by clicking on the "Test Connection" button.
After establishing a connection and the existence of your tables is verified you will see a message
Establishing a connection to the database
You cannot export eligibility requests before this connection tests successfully.