Once you have created your tables and tested connection and table names, you can select which fields to export. Follow the instructions below.
1. Select Data Export ![]() Connection and Data Fields in the main menu.
Connection and Data Fields in the main menu.
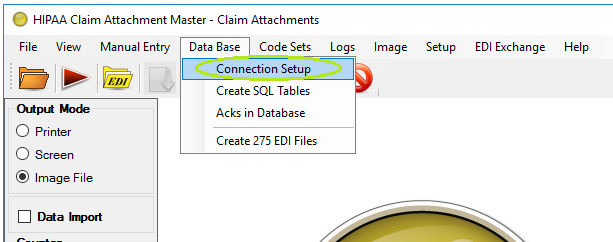
The "Connection and Data Fields" menu
2. You will be confronted with the following screen where you can set up the database connection and enter the names of the database tables.
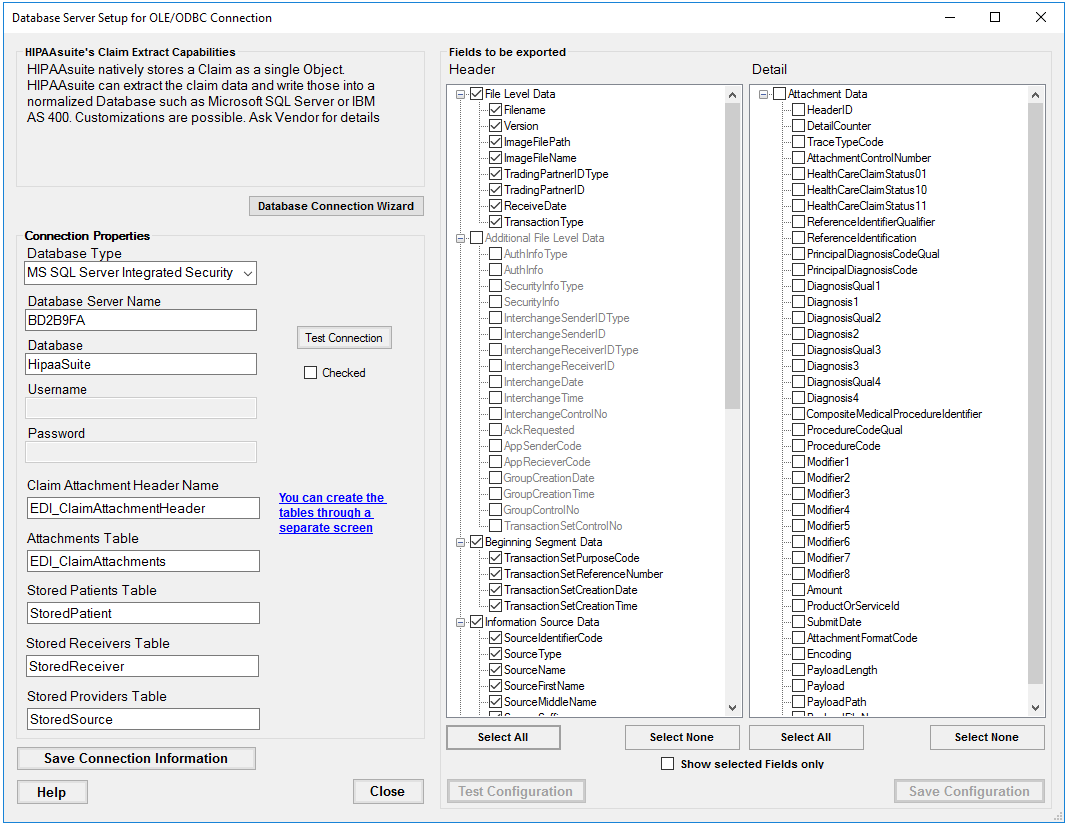
The "Database and Field Export" window
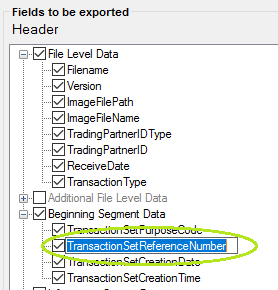
3. Choose fields to be exported by selecting checkboxes in front of the fields in the following tables:
Tip: We recommend to select all fields. This makes it possible to reassemble all the information in the EDI file and create the image of the claim attachment master.
| • | Header |
| • | Detail |
Tip: Sometimes it might be necessary to rename a field or fields. Some legacy database want upper case only or lower case only field names. The HIPAA Claim Status Checker Master allows you to rename any field in any table. Click twice (not double-click) on a field and you are in "Edit" mode.
The field selection list in "Edit" Mode
4. Once you have made your selection or selected all you have to test your setup, click on the "Test Configuration" button. The program will go through each table and check if the selected field exists.
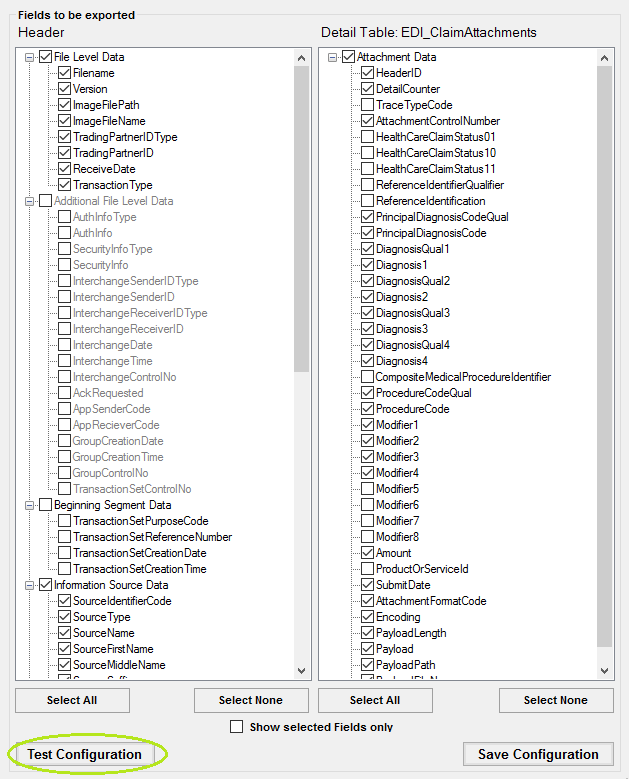
The "Test Configuration" button
5. You should receive a message like this. Click "OK."
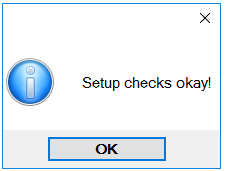
The success message
6. Only after the configuration checks out are you allowed to save it. Click the "Save Field Configuration" button.
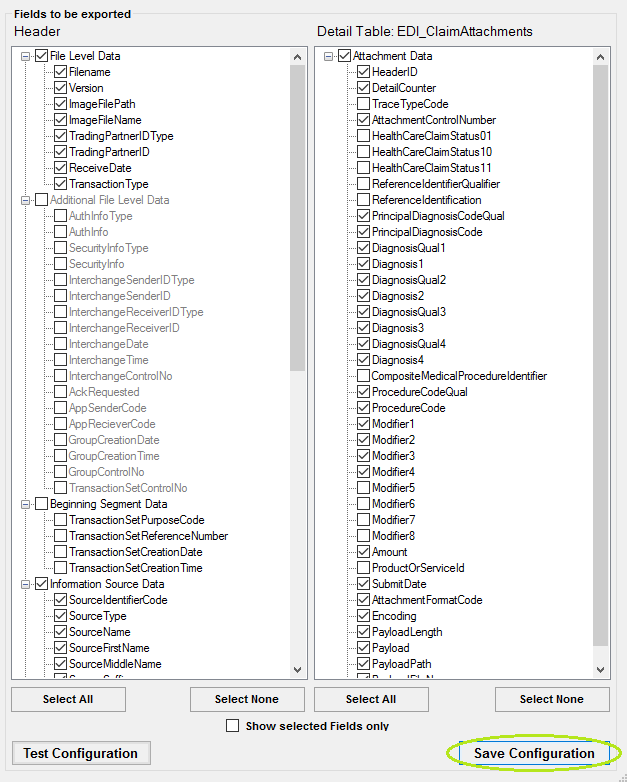
The "Save Field Configuration" button
Troubleshooting Data Fields
Once you have made your selection or selected all you have to test your setup. Click on the "Test Configuration" button.
If the program finds errors, the Error screen will come up and tell you exactly which fields caused errors.
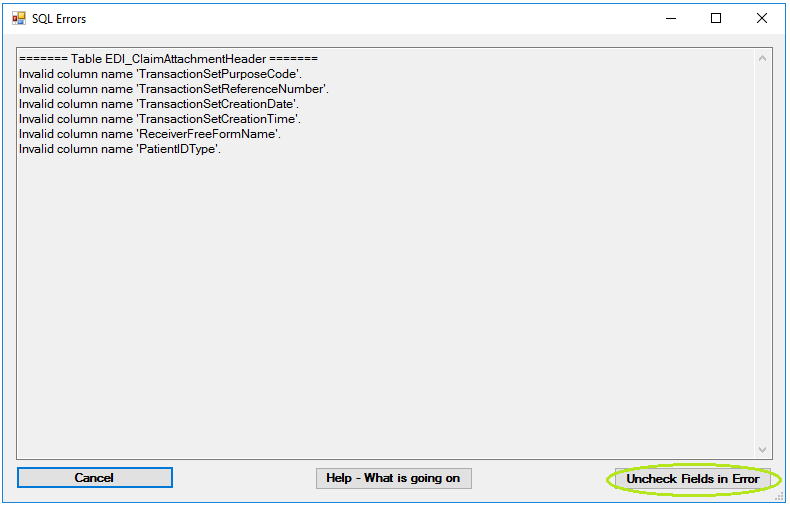
The error window
You can study the errors and the message usually is precise enough to understand what is wrong. In the above case an access database is missing the fields in error. When you click the "Uncheck Fields in Error" button, then all those fields will be unchecked and excluded from the data export.

Fields that caused problems are unchecked now and excluded from export
Now you can test the configuration again. You should get the success message:
The success message
Only after the configuration checks out are you allowed to save it. Click on the "Save Field Configuration" button.