|
<< Click to Display Table of Contents >> Setting up the Database Connection |
  
|
|
<< Click to Display Table of Contents >> Setting up the Database Connection |
|
The HIPAA Premium Payment Master natively treats a payment advice record as a single object. The application extracts the complete payment from an EDI file into its proprietary data object. It can translate and export this data into any ODBC-compliant database such as Microsoft SQL Server, Oracle, etc.
Tip: The default fields that come with the product can be extended; customizations are possible.
| 1. | Select Data Export 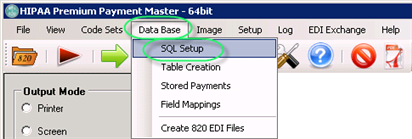 The "SQL Setup" menu |
| 2. | You will be confronted with the following screen where you can set up the database connection and enter the names of the database tables.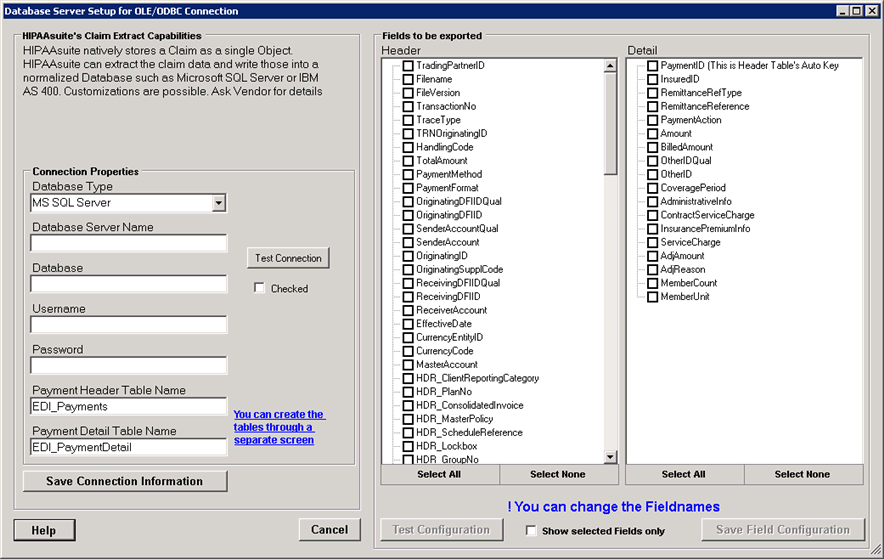 The "Database Server Setup for OLE/ODBC Connection" window |
Connection Properties
Tip: If you use ODBC for the connection, you will need to set up the ODBC connection first in the Windows ![]() Control Panel
Control Panel ![]() Administrative Tools
Administrative Tools ![]() Data Sources (ODBC) setup screen. Setting up the ODBC connection varies from database to database.
Data Sources (ODBC) setup screen. Setting up the ODBC connection varies from database to database.
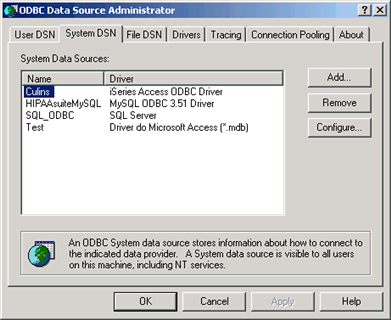
The ODBC Administration screen in Windows
Define the database connection properties:
| • | Database Type — Select the type of the database from the drop-down menu: is either ODBC or Microsoft SQL Server either with Windows Authentication or with explicit credentials. Note: If you need other types, please contact us for customizations. |
| • | MS SQL Server — If you have a Microsoft SQL Server database, please select the appropriate type. Older versions of SQL Server use server authentication, newer ones use the integrated user management for Windows domains. |
| • | MS SQL Server Integrated Security |
| • | ODBC Connection — The HIPAA Premium Payment Master uses OleDB for optimized connection to SQL Server, either with server based security or with Windows Authentication. |
| • | Database Source Name — The database server is either the IP address or DSN of the database server. Specify the database server name or DSN. Enter 127.0.0.1 or "localhost" if the computer you are at has the database. In case of SQL Server, it is the IP address or the name of the database server. For ODBC it is the Data Source Name (DSN) that is defined through the ODBC setup in the Control Panel of Windows; type the name of the predefined ODBC connection. |
| • | Database — Enter the database name under the above connection. Typically, this field will be empty for ODBC setup. |
| • | Username — Specify the user name that has privileges to the SQL Server database. Typically, this field will be empty for ODBC setup. There, your log-on credentials to the computer will be used. |
| • | Password — Specify user's password. Typically, this field will be empty for ODBC setup. |
| • | Payment Header Table Name — Enter the name that you give to your Payment header table. The default name is suggested but can be changed. |
| • | Payment Detail Table Name — Enter the name that you give to your Payment Detail table. The default name is suggested but can be changed. |
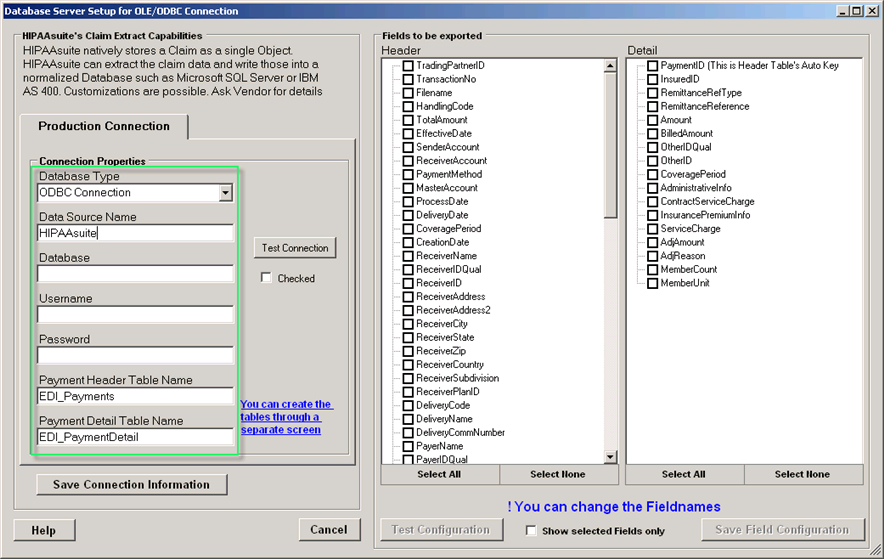
The connection properties fields
To create tables in your database, click on the "You can create the tables through a separate screen" link. For instructions, refer to Creating Tables.
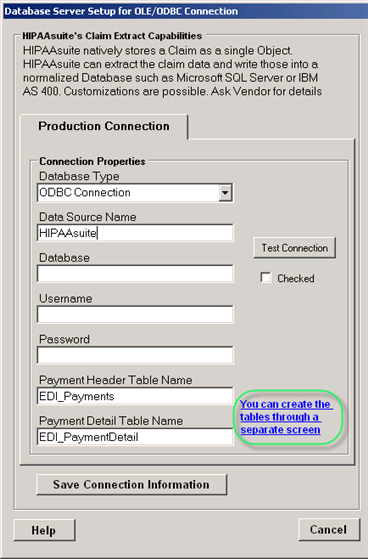
A link to create tables
Once the connection parameters have been entered, click "Save Connection Information."
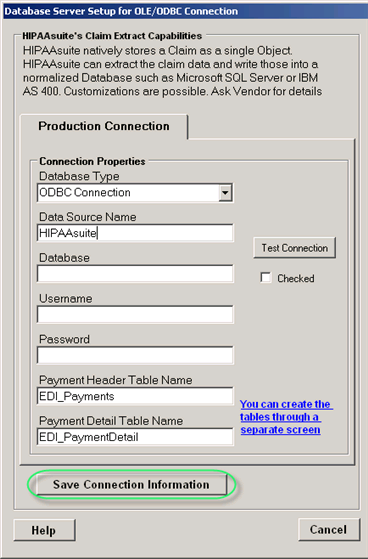
The "Save Connection Information" button
To verify if the entered parameters are correct, click on the "Test Connection" button.
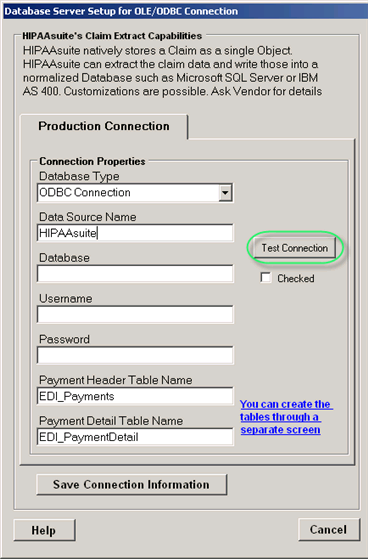
The "Test Connection" button
If the test has passed successfully, you will see the following notification:
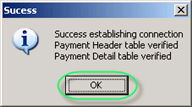
The success message
Once the test has passed successfully, the "Not checked" message changes to "Chеcked."
The "Checked" checkbox
Once you have the database connection defined and tested, you can enter the table names. See Selecting Fields to Export.
If you need to create the tables first, then see Creating Tables.