|
<< Click to Display Table of Contents >> HIPAA Claim Status Responder |
  
|
|
<< Click to Display Table of Contents >> HIPAA Claim Status Responder |
|
In order to receive and respond to ASC X12 005010X212 Health Care Claim Status Requests (276) you must have installed HIPAA Claim Status Responder and configured it as follows.
Please download and install this software from HIPAAsuite and configured it as follows. The program itself comes with a detailed help documentation. We just give below a quick start guide.
If you have not completed the Company setup, please refer to the HIPAA Claim Status Responder guide.
Next, the database needs to be configured.
In the Database dropdown menu, select "Connection and Data Fields".
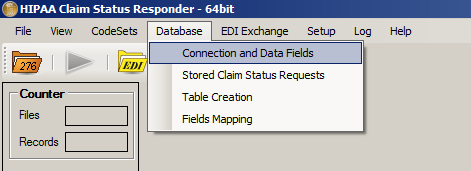
The Database dropdown menu.
This will open a form where you can fill in your database connection details. This is the database HIPAAsuite Claim Status Responder will be checking for claim status.
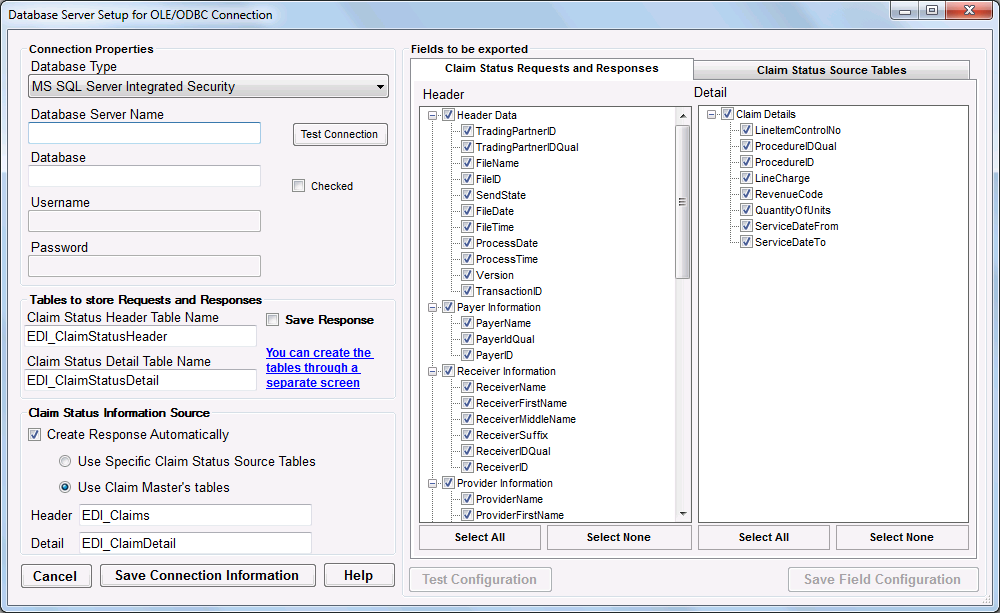
This form stores all necessary Database settings.
Fill all fields and be sure to check "Save Responses in database". This presents additional tables necessary for correct response behavior.
Click the "Test Connection" button to verify your database connection details are correct. If you have not created the database or tables a pop-up message will inform you the database could not be opened or the tables were not found.
If a database does not exist, consult your local Administrator.
If you have not yet created the tables, you may click the blue underlined text "You can create the tables through a separate screen" to open a window that will automatically create them for you.

This text links to the table creator.
The table creation window. Here you can create the tables with the necessary fields or compare the scripts to your own tables.
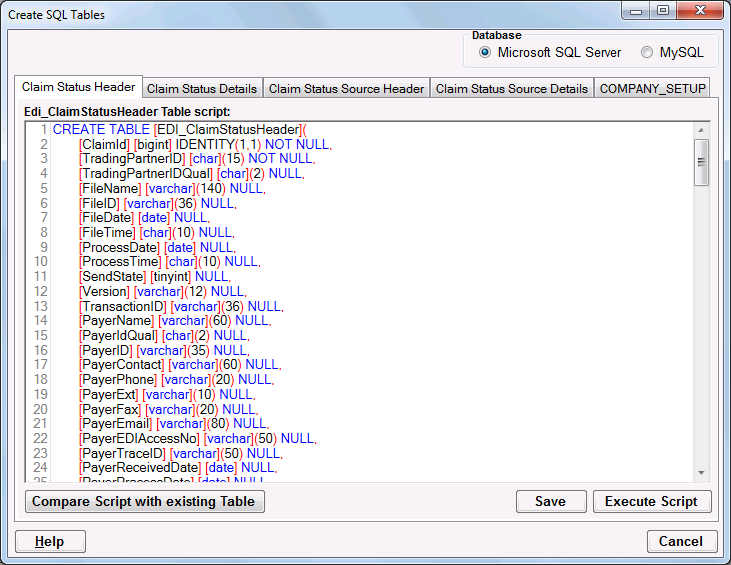
Table creation made simple.
Testing your database connection with the "Test Connection" button should now yield the following message:
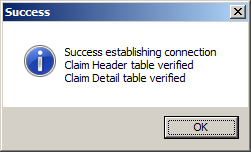
Connection test successful.
After creating the tables, the field configuration must be tested. In the Database Connection and Data Fields menu make sure all fields are selected for both tabs. Click the "Select All" button near the bottom of the form to check all fields. Then, click "Test Configuration", and later the "Save Field Configuration" button.
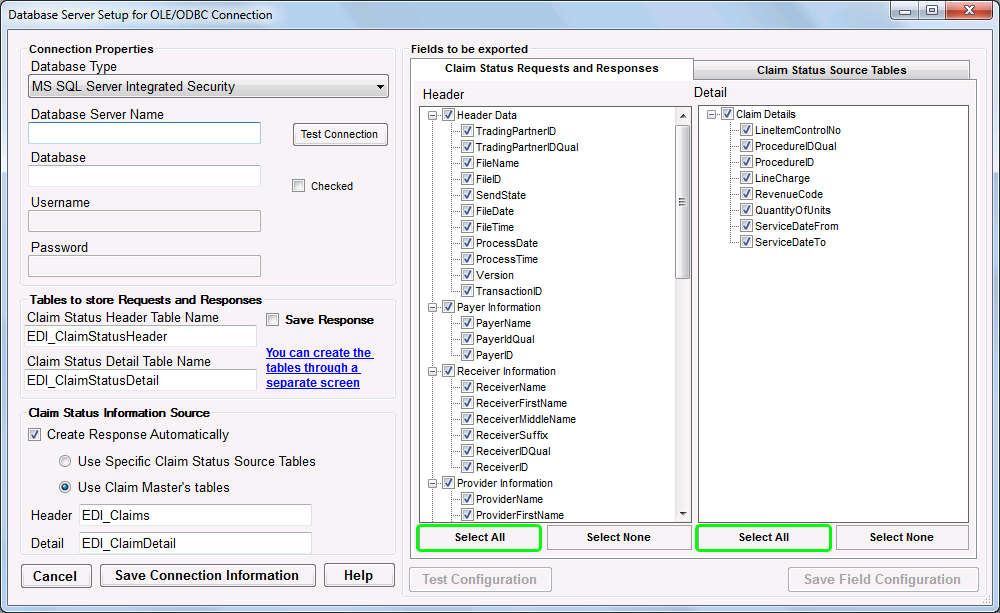
"Select All" buttons near the bottom make field selection quick.
Click the "Test Configuration" to verify the existence tables and fields within the database, then "Save Field Configuration" to save.
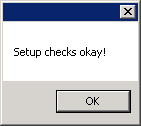
Setup successful.
The Database is now configured and HIPAAsuite Claim Status Responder can answer 276 Claim Status requests. Follow the next steps to select a source for Claim Status information.
There are two ways to draw Claim Status information from DB. One uses Source tables that can be created from the HIPAA Claim Status Responder itself. The other uses the HIPAA Claim Master application's tables with a slight modification.
The source tables are created in the same window as the rest of the Claim Status tables. These are the Claim Status Source Header and Claim Status Source Details tables. If you are using the Claim Master tables, ignore this section.
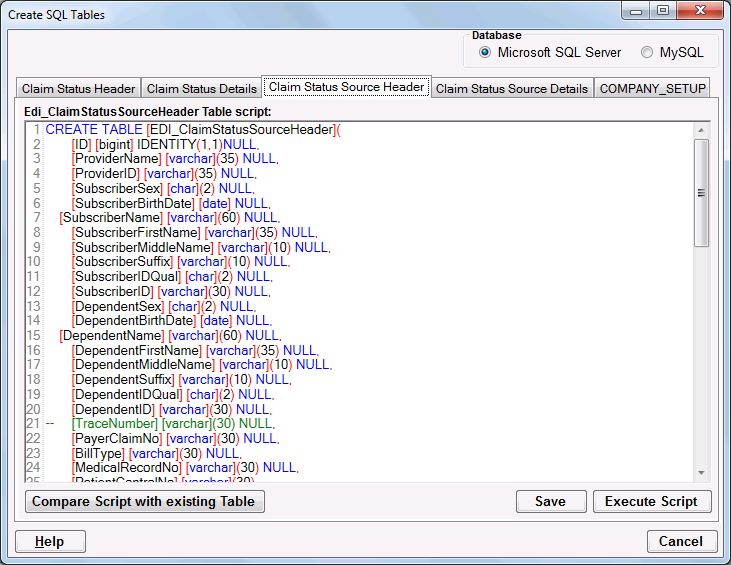
Source table creation.
After creating the Source tables, the HIPAA Claim Status Responder must be configured to use them. In the DataBase Connections setup screen, check "Create Response Automatically" and select "Use Specific Claim Status Source Tables".
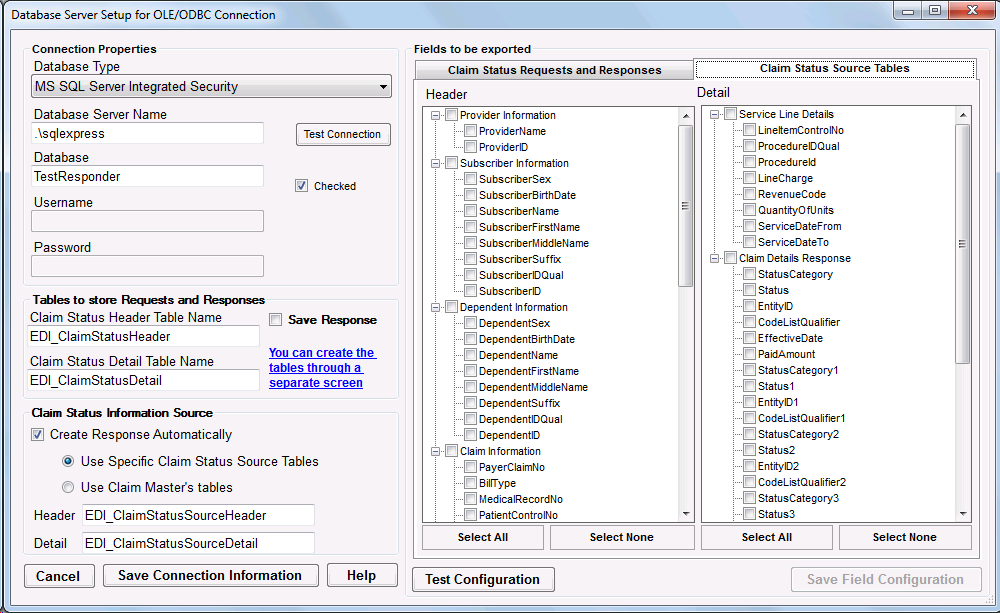
Specific Source Tables selected.
In the same screen, select the "Claim Status Source Tables" tab and select all fields. Remember to save your configuration.
To use the HIPAA Claim Master tables as a source, the Claim Master tables need to be modified. In HIPAA Claim Master, open the Table Creation window and remove the double hyphen ("--") at the beginning of any line in the Claim Feedback section of both scripts. If you are using the Source tables, ignore this section.
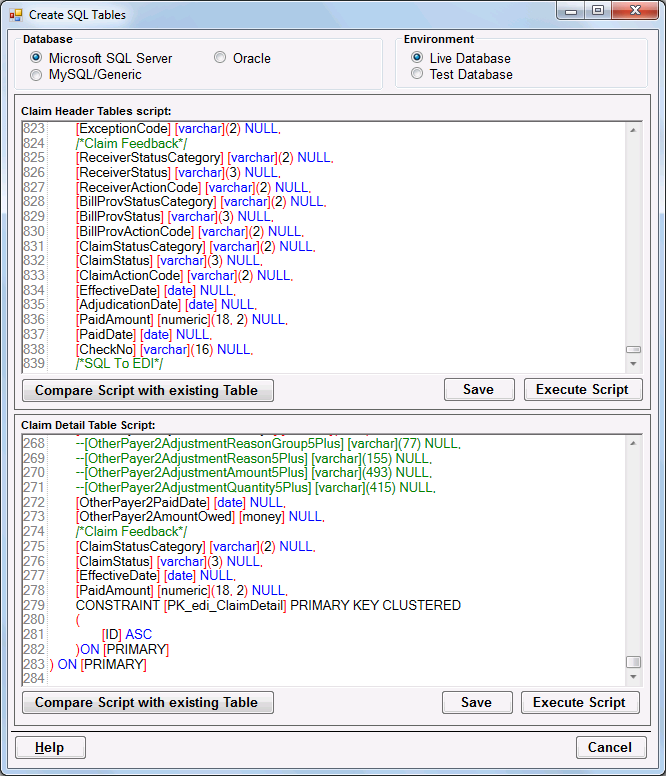
Your Create Table form should look like this.
Save and execute both scripts. The tables should now have the necessary Claim Status information fields. Now we set up the HIPAA Claim Status Responder to use these. In the DataBase Connections window, check "Create Response Automatically" and select "Use Claim Master's Tables".
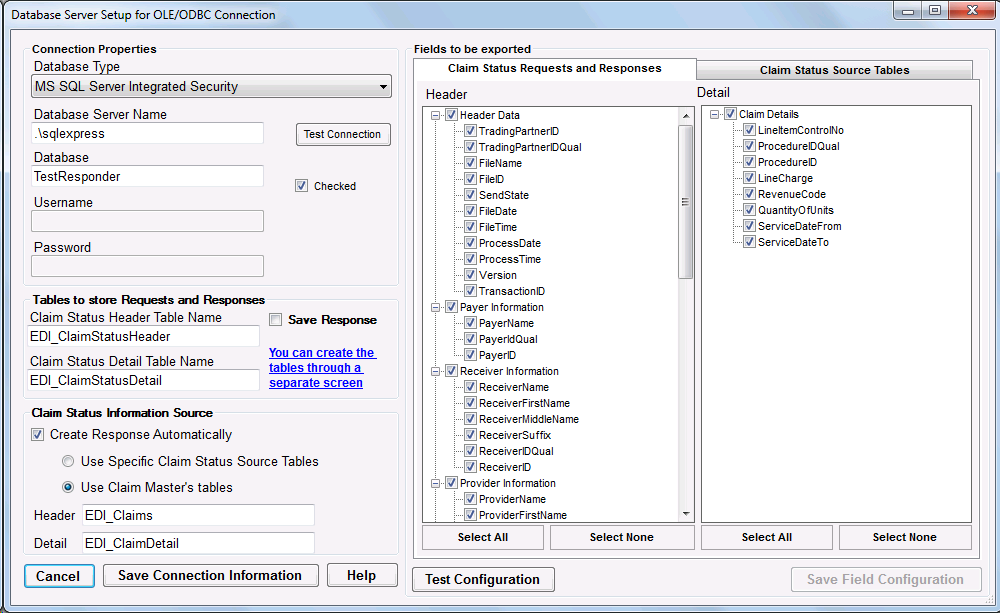
Using the Claim Master Tables.
Then select the "Claim Status Source Tables" and check all fields. Remember to save your configuration.
If you have not yet set up EDI Exchange, instructions to do so can be found in the HIPAA Eligibility Responder setup section.
To verify EDI Exchange is setup, select "EDI Exchange Setup" from the EDI Exchange dropdown menu and look for a green checkmark indicating EDI Exchange has been initialized successfully.
![]()
Edi Exchange is initialized.
Finally, the autoprocessing options need to be set. In the EDI Exchange dropdown menu, select "Autoprocess Setup".
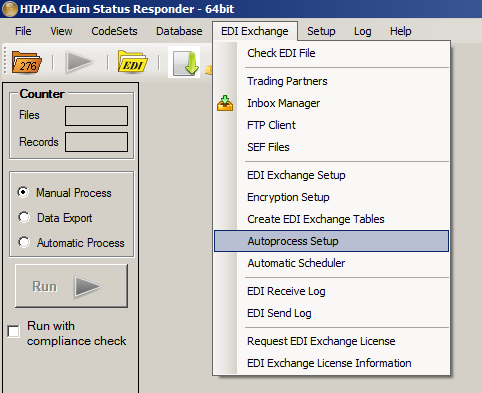
Autoprocess Setup menu option.
In the following window, check options "Export in Database" and "Create Autoresponse."
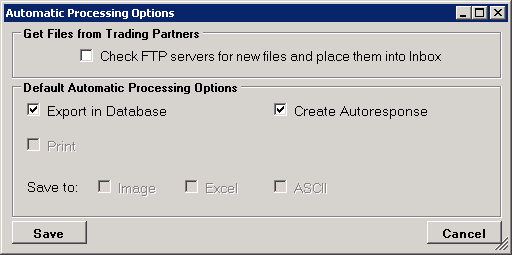
Autoprocessing options.