|
<< Click to Display Table of Contents >> Doing Image Setup |
  
|
|
<< Click to Display Table of Contents >> Doing Image Setup |
|
Before proceeding with image export, do the image setup as described further.
Select Image ![]() Image Setup in the main menu to access the "Image Setup" window.
Image Setup in the main menu to access the "Image Setup" window.
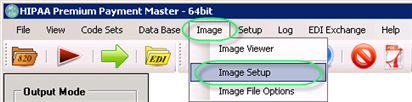
The "Image Setup" menu
The following window will appear:
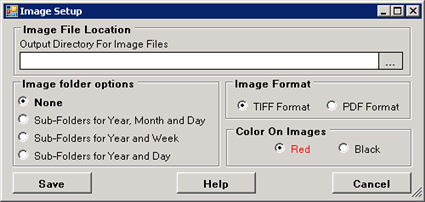
The "Image Setup" window
You can set the options described below.
Once the options have been set, click "Save."
| • | Image File Location — Determine the destination folder where the images will be stored. |
| • | Image Folder Options — When you create a lot of images, it is important not to place them all in the same folder. Microsoft Windows has issues handling more than 1000 files in a folder. That is the reason why the HIPAA Claim Payment Master can hash the image files over many sub-folder. You have the following choice to use: |
| • | None — Default value. |
| • | Sub-folders for Year-Month and Day — The sub-folders will be created within the Image File Location. Example: \2012\February\29\. |
| • | Sub-folders for Year and Week — The sub-folders will be created within the Image File Location. Example: 2012\9\. |
| • | Sub-folders for Year and Day — The sub-folders will be created within the Image File Location. Example: 2012\20120229\. |
| • | Image Format — Choose whether to create PDF or TIFF files. |
| • | Color on Images — You have the choice to present the document black and white or have form elements in red. You can set this separately for screen, paper or image files. |