The HIPAA Authorizer can create 278 EDI files from database records. All the complex logic of building the loops and nestings is done by the software. The database could be populated by loading 278 EDI files or creating a process of automatic authorization that fills in fields in the database with the response and then the response file will be created and sent to a trading partner. Considerable interface work will be necessary and we at HIPAAsuite will help you in the design and all necessary customizations on our side.
There is a manual process where you can enter a database query and end up with the 278 file created but it can also be done via command line arguments.
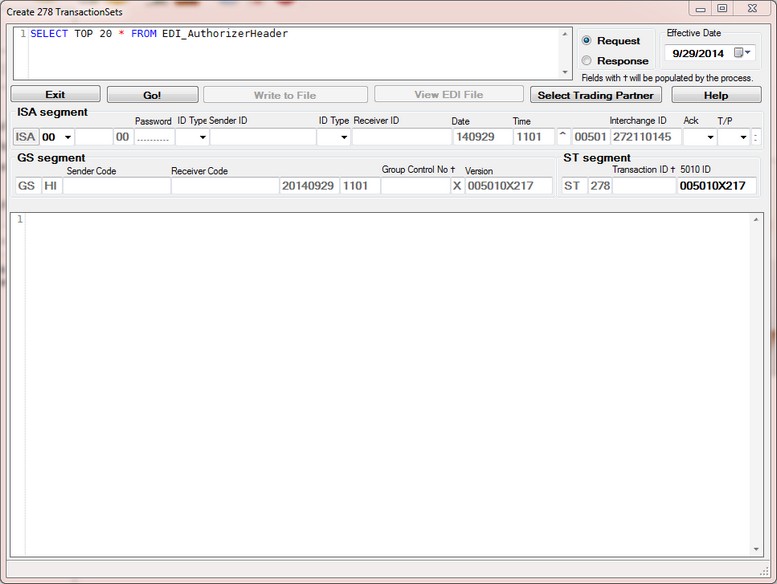
When you click the 'Create 278' button in the Stored Authorization Request screen, you will see the following screen.
Creating 278 response records from the database
Before you can start, you have to enter values into the empty fields!
The HIPAA Authorizer will store most of the values for later use. The next time you call up this screen, it will be completed.
On top we see the query phrase. Here you can enter any query that you want or you use the query builder discussed before and carry the query over into this screen. Please be reasonable, creating a file with many thousand records will take a few minutes.
Then you need to decide whether you create a 278 request or a 278 response file. One of the differences between request and response is the BHT_02 element. It is '13' for the request and '11' for the response.
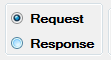
The option to create a request or response file.
The next block is concerned with the ISA segment.
| • | Some values are filled in and shaded out. These are created by the program. Other fields are blank and you have to fill them out. Once you filled them out the program will remember you last configuration and repeat it. |
| • | SenderID Type and Sender ID are your identifier. You can select 'ZZ' and your name (up to 15 letters) or your tax id or anything else. Fill in the sender's id qualifier and id |
| • | ReceiverID Type and Receiver ID are your identifier. You should get this information from your trading partner. |
| • | If you want an acknowledgement |
| • | Whether this is a test or production file |
In GS segment you have to add
| • | Sender Code, you can repeat here your sender id from ISA_06 |
| • | Receiver Code, again your trading partner should tell you. When in doubt repeat ISA_08 |
For the BGN segment you will have to fill out:
| • | The purpose code of this transaction |
| • | Your Time Zone |
| • | The action code |
| • | and in rare circumstances the Transaction Id of another file that you want to refer to |
Here what a properly filled out form looks like
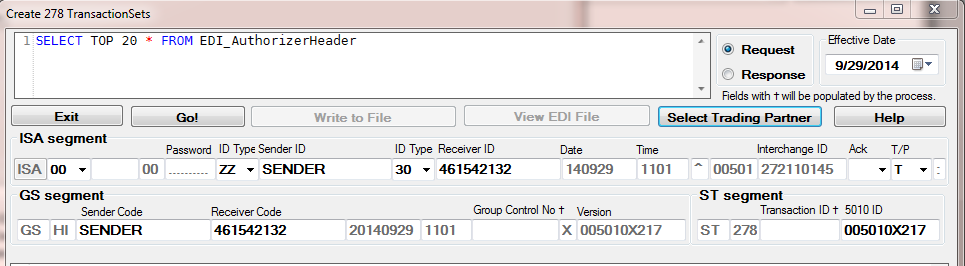
The necessary information to create a valid EDI file
Now you can hit 'Go' and a few moments later we get the processing results and we can see the EDI file below
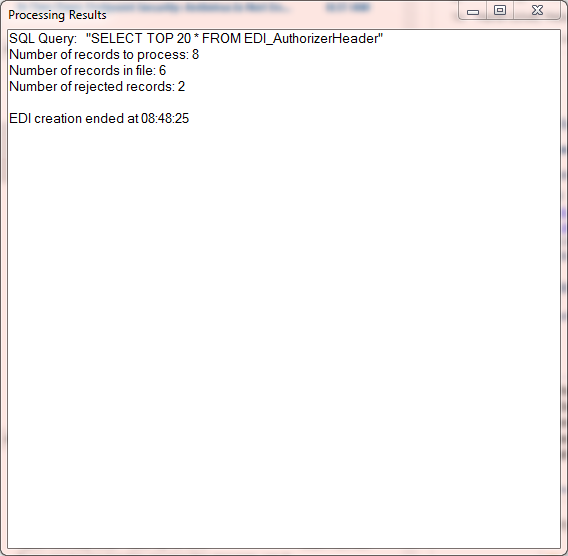
The process results are displayed on the screen.
Note: this information will also be verbatim in the log file if you choose to log manual process logging in the setup

The EDI file is now created
Now you can write the this EDI stream to a file. It exists so far only in memory. Click the "Write to file" button and you have the choice to either specify the filename and path or to use the settings from EDI Exchange.
After the file has been written you can click the "View EDI File" button and see it in the EDI Editor.