|
<< Click to Display Table of Contents >> Creating Tables |
  
|
|
<< Click to Display Table of Contents >> Creating Tables |
|
The scripts that are supplied with the HIPAA 999 Master will generate every field that is available for import. You may not need all these fields. You can edit the scripts to only use the fields that your system requires. System performance will be better if you only select the needed fields.
Not all databases are supported. Most likely only Microsoft SQL server and MYSQL scripts are supplied. And even here different versions of the database behave differently. If you have database expertise, please modify the scripts accordingly. We invite you to submit improvements and requests.
If you encounter persistent errors with the script, we recommend you to work with the scripts within the database environment. SQL Server Enterprise Manager or SQLyog for example have an SQL query analyzer that helps you tweak the scripts until they run.
Also, feel free to contact us if you have any problems.
In order to facilitate the development, HIPAA 999 Master allows you to create the staging tables for your database where HIPAA 999 Master will export the claim data.
Before data export, you need to create the tables through SQL create table statements. You can do it using the built-in function of the HIPAA Claim Master. Creating these tables can be an intimidating task. Once you have your connection defined and tested, follow the instructions below.
| 1. | Select the Data Base |
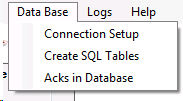
"Create SQL Tables" menu option under "Data Base".
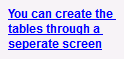
Alternately, click on the blue linked text in the Configuration Settings window.
The "Create SQL Table" menu
| 2. | The following window will be displayed. This is the create SQL tables window.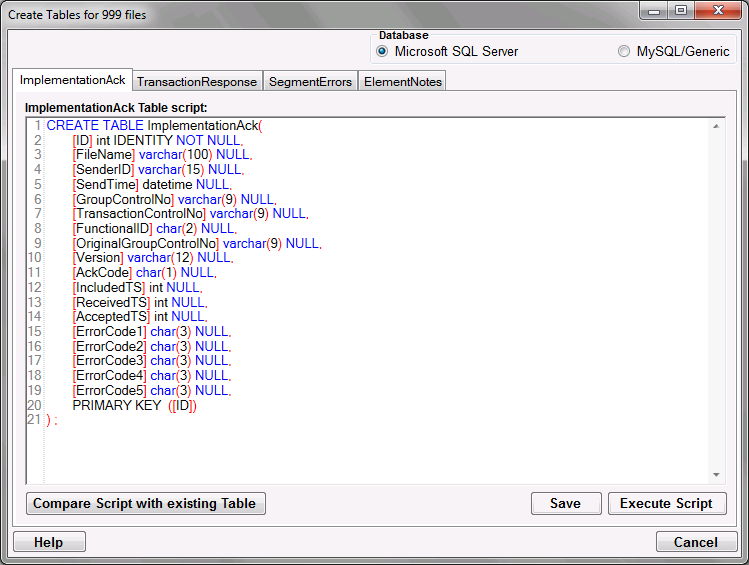 The "Create SQL Tables" window |
| 3. | Define the following options: |
Database
| • | Microsoft SQL Server |
| • | MySQL/Genetic |
Scripts
On the following tabs there are SQL scripts used to create the appropriate tables:
| • | ImplementationAck Table Script |
| • | TransactionResponse Table Script |
| • | SegmentErrors Table Script |
| • | ElementNotes Table Script |
Tip: You can modify the scripts so that they run on your specific database and to conform to your database's specific SQL syntax. For each modified script, click "Save" on the bottom right of the relevant create script tab after modifying it.
4. For each create table script, click "Execute Script" to create the corresponding table in the database.
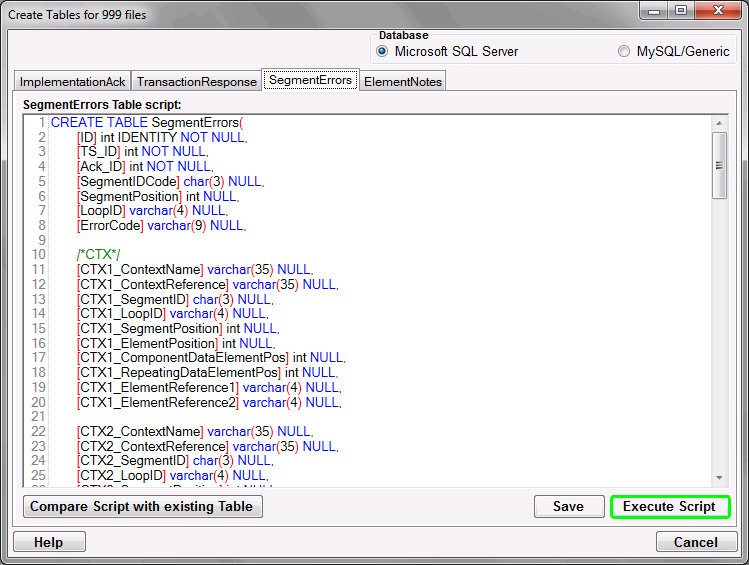
The "Execute Script" button
Warning: Executing the scripts will wipe out any previous tables that you created using the same table name and you will lose all data. A user prompt will ask you to confirm this action.
To modify a table instead of creating it anew, click the "Compare Script with existing Table" button. This will display a window with any differences between the script and your existing table in an "alter table" SQL command.
Once the table has been created successfully, you will see the following notification:
The success message