|
<< Click to Display Table of Contents >> Selecting Fields to Export |
  
|
|
<< Click to Display Table of Contents >> Selecting Fields to Export |
|
You may not want to export every field, but only those that you have in your database. You are really only limited by your database engine. In order to reassemble the acknowledgment from the database, it is better to have all the fields selected and available.
Once you have created created your tables and tested connection and table names, you can select which fields to export. Follow the instructions below.
1. Select Data Base ![]() Connection and Fields in the main menu.
Connection and Fields in the main menu.
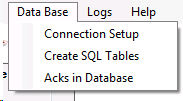
The "Data Base" menu.
2. You will be presented with the following screen where you can set up the database connection and enter the names of the database tables.
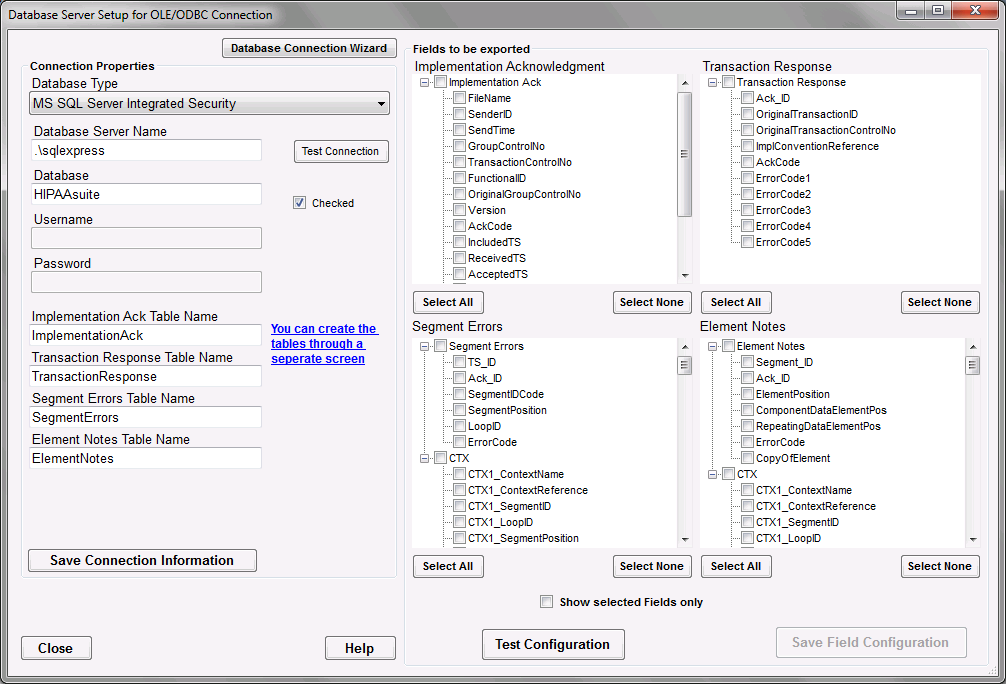
Database Server Setup screen. The right side of this screen contains the table fields configuration options.
The right side of this screen displays all possible fields for each table as well as "Select All" and "Select None" buttons for quick field selection, test and save buttons.
3. Choose fields to be exported by selecting checkboxes in front of the fields you require. We recommend selecting all fields. This makes it possible to reassemble the stored information into a complete EDI 999 file.
Tip: Sometimes it might be necessary to rename a field or fields. Some legacy database want upper case only or lower case only field names. The HIPAA Claim Master allows you to rename any field in any table. Click twice (not double-click) on a field and you are in "Edit" mode.
4. Once you have made your selection or selected all you have to test your setup, click on the "Test Configuration" button.
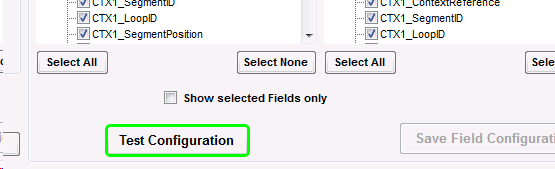
"Test Configuration" button on the lower part of the database configuration window.
The program will then connect to the database and read the table definitions. Afterwards all the fields that you selected will be tested. If the test is successful, the following message will be displayed:
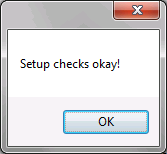
Field configuration test successful.
5. Save the field configuration. Click the "Save Field Configuration" button.
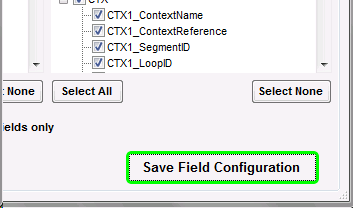
"Save Field Configuration" button on the lower right of the database configuration screen.