|
<< Click to Display Table of Contents >> Setting up Database Connections |
  
|
|
<< Click to Display Table of Contents >> Setting up Database Connections |
|
The following steps will guide you through setting up a database connection.
1. Select Data Base ![]() Connection Setup in the main menu.
Connection Setup in the main menu.
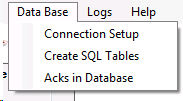
"Data base" menu options.
2. You will be presented with the following screen where you can set up the database connection and enter the names of the database tables.
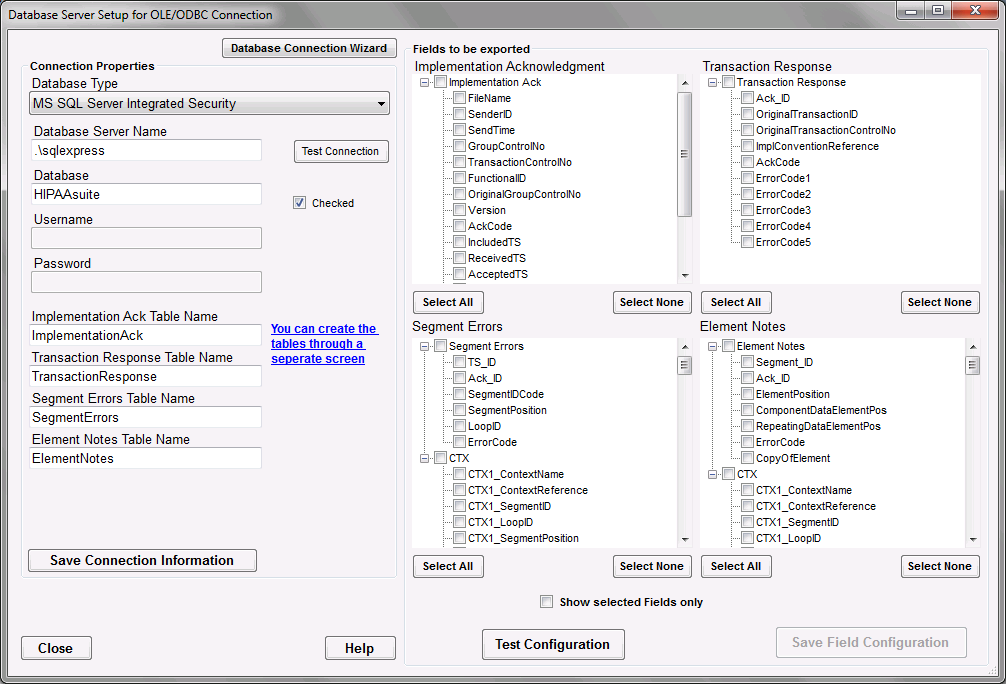
Database Server Setup screen.
3. Define the connection properties located on the top left side of the database configuration window.
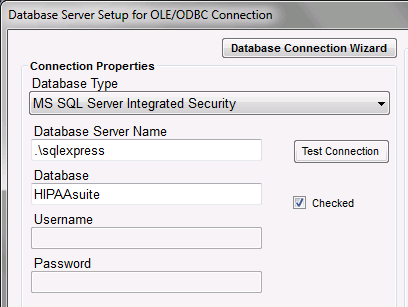
Database Connection properties.
Fill in the following fields:
| • | Database Type - Select the type of the database from the drop-down menu: either ODBC or Microsoft SQL Server either with Windows Authentication or with explicit credentials. Note: If you need other types, please contact us for customizations. |
| • | MS SQL Server |
| • | MS SQL Server Integrated Security |
| • | ODBC Connection |
| • | ODBC Connection for Oracle |
| • | Database Server Name — Specify the database server name or DSN. In case of SQL Server, it is the IP address or the name of the database server; for ODBC it is the Data Source Name (DSN) that is defined through the ODBC setup in the Control Panel of Windows. |
| • | Database - Enter the database name under the above connection. Typically, this field will be empty for ODBC setup. |
| • | Username - Specify the user name that has privileges to the database. Typically, this field will be empty for ODBC setup or if using Integrated Security. |
| • | Password - Specify user's password. Typically, this field will be empty for ODBC setup or if using Integrated Security. |
4. Define the Table Names to the middle left of the database configuration window.
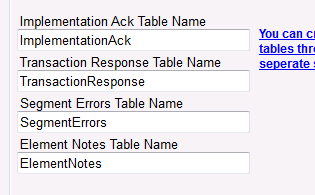
Database Table names.
A default name is suggested but they can be changed.
4a. To create the tables, the database connectivity settings must have been saved and tested. Testing will reveal whether the tables exist. If not, clicking on the blue text will lead you to the table creation window:

This text leads to the table creation window.
5. Save the new configuration.

"Save Connection Information" button on the lower left side of the database configuration screen.
The new configuration settings must be saved before testing connectivity.
6. Test the configuration settings.

"Test Connection" button on the top left side of the database configuration screen.
To verify if the entered parameters are correct, click on the "Test Connection" button. You cannot export acknowledgments before this connection tests successfully. A successful result will present the following prompt:
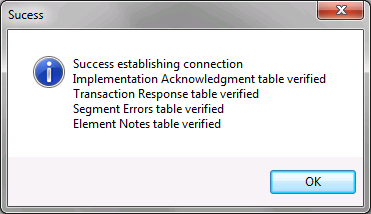
Database configuration test success.
Once the test has been run successfully, the "Chеcked" box becomes enabled.