|
<< Click to Display Table of Contents >> Creating EDI Files from the Attached Database |
  
|
|
<< Click to Display Table of Contents >> Creating EDI Files from the Attached Database |
|
Once the EDI Creation Feature is enabled, you can create the EDI files. Follow the instructions below.
| 1. | To configure the company, select Data Base 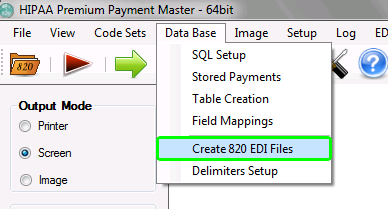 The menu item to create EDI files under the "Data Base" menu Alternatively, you can click the "Create 820 EDI File" button in the query builder (the "Stored Premium Payments" window). Refer to Exporting the Data. 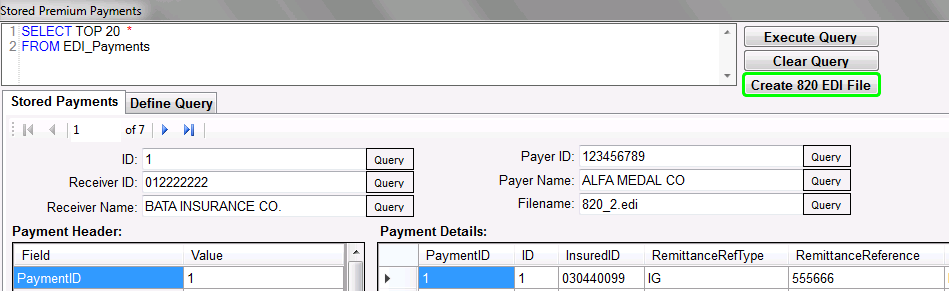 The "Create 820 EDI File" button located on the "Stored Premium Payments" screen |
| 2. | Clicking the button will bring up the "Create 820 Transaction Sets" window with the query that you designed.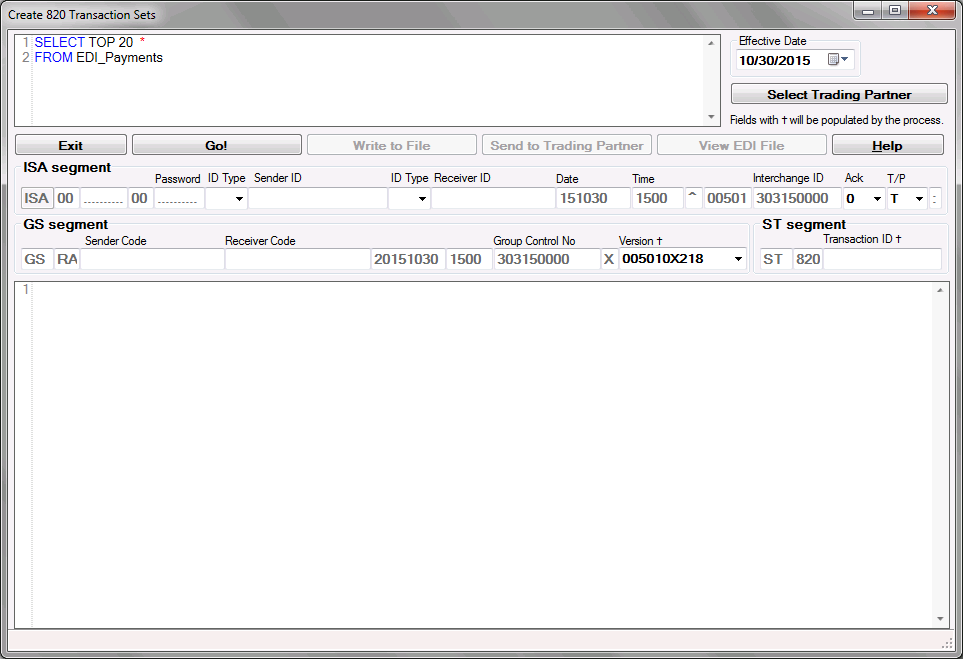 |
| 3. | After you have filled all necessary values, click "Go!"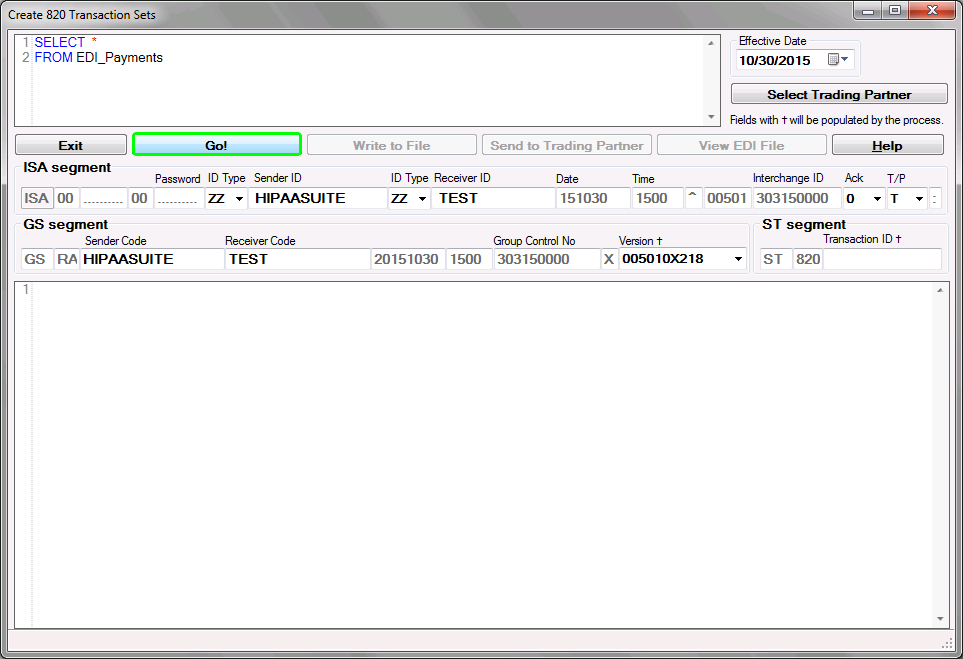 The "Create 820 Transaction Sets" window with the highlighted "Go!" button |
| 4. | You will see a confirmation dialog like this. Click "Yes."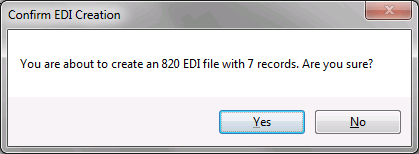 The verification message before the EDI records are created |
| 5. | After you click "Yes," the process of assembling the claims to the 820 files starts. 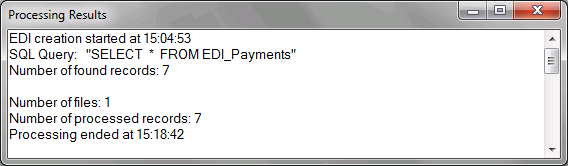 The Processing Results |
| 6. | The bottom pane informs you about the number of transactions created.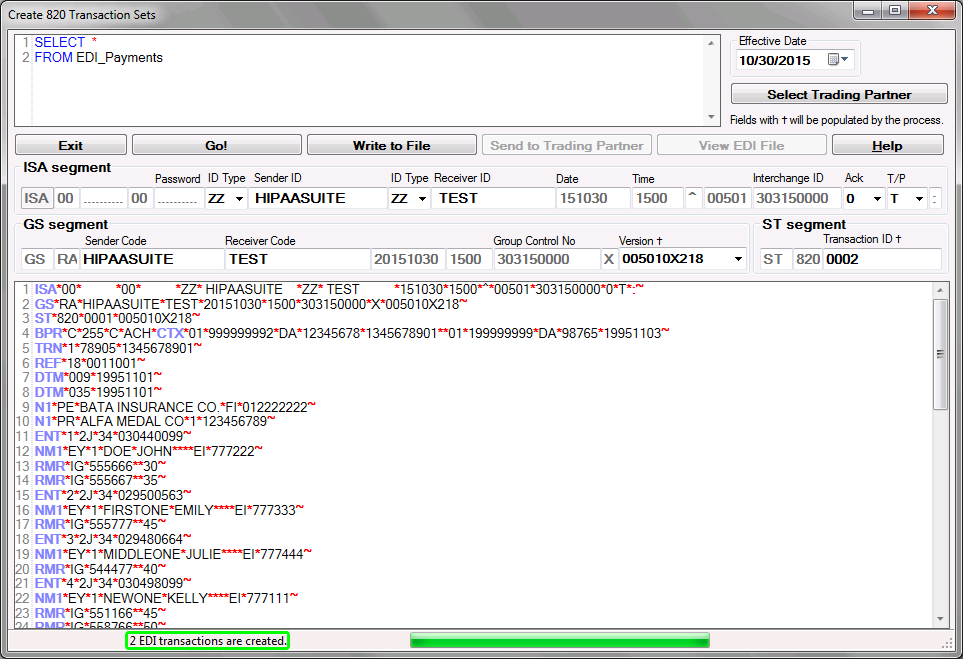 The bottom pane displaying the number of created EDI transactions The EDI text is now displayed in the bottom part of the window.  |
| 7. | Now you can write down the EDI text that is still in memory and visible in the text box to a file. Click on the "Write to File" button and you will have the choice to write in the default location which is the trading partner's outbox, or specify any other location: |
| • | Use default path and names |
| • | Select path and names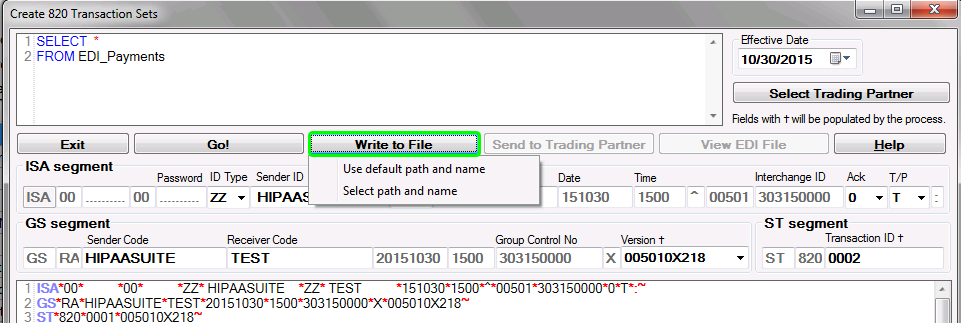 The "Write to File" button 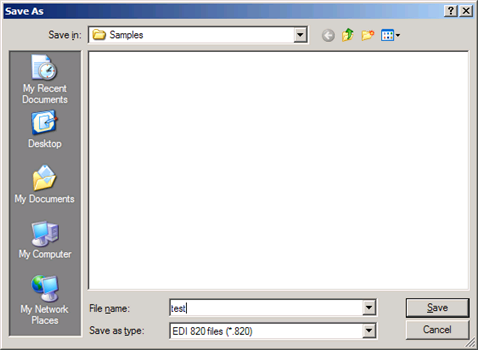 The "Save As" dialog window |
| 8. | After successful writing, you get a message where the file was written to.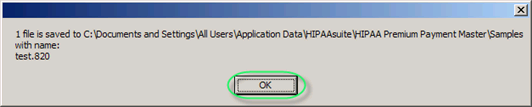 The confirmation message that the file was successfully written |
The button "View EDI File" is now enabled and you can bring up the EDI Editor to view it.
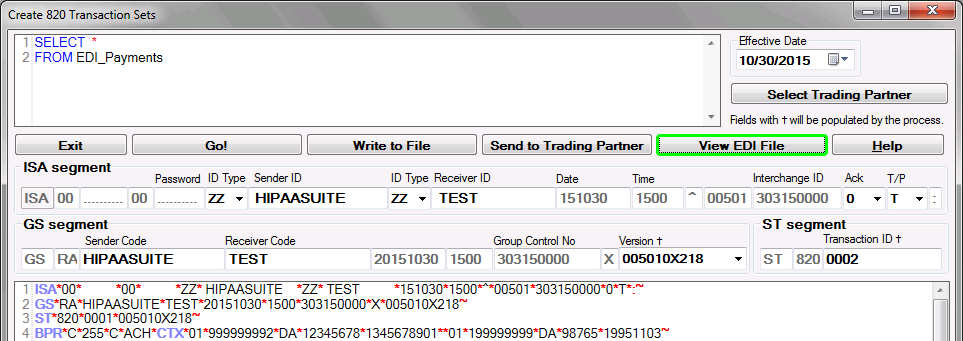
The "View EDI File" button highlighted
The following preview window will open.
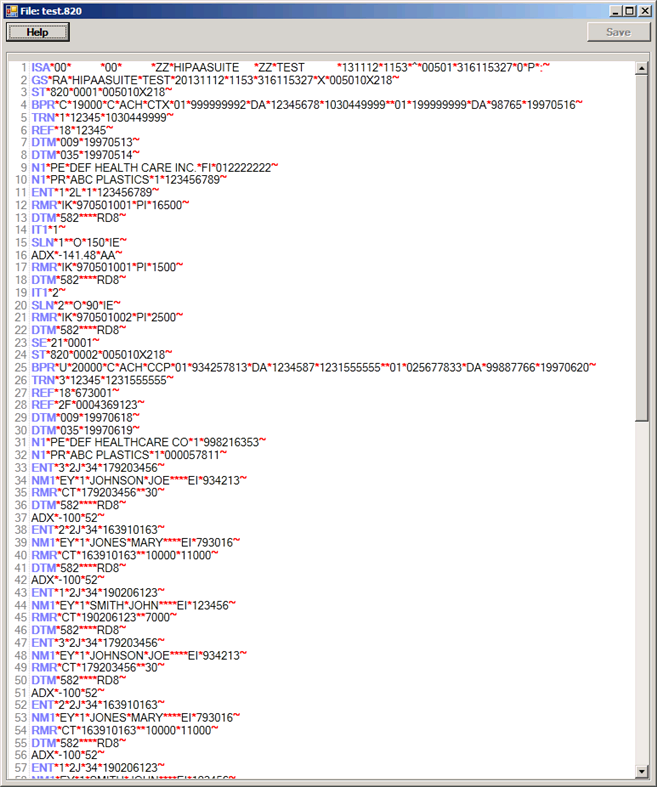
EDI preview window